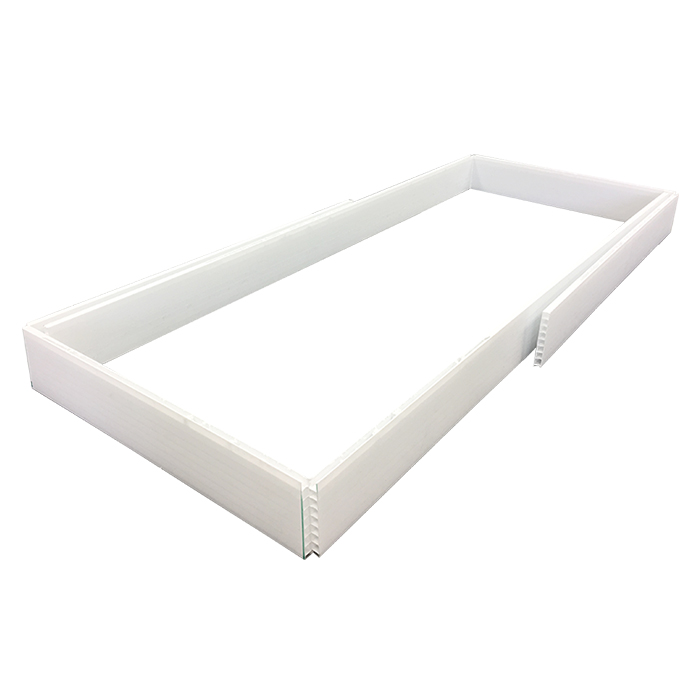
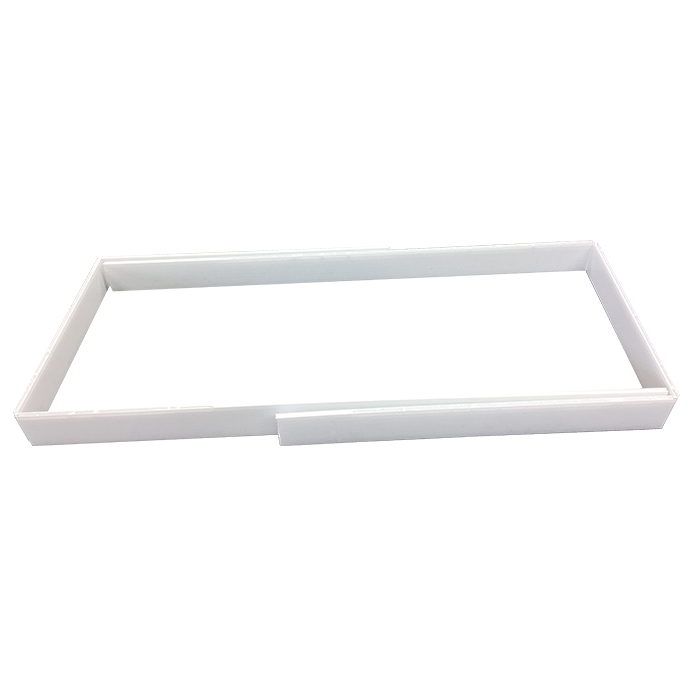
Adjustable to fit: GS-1, GS-2, GS-3, BP-1, BP-2, BP-3, BP-3.3, BP-3.5

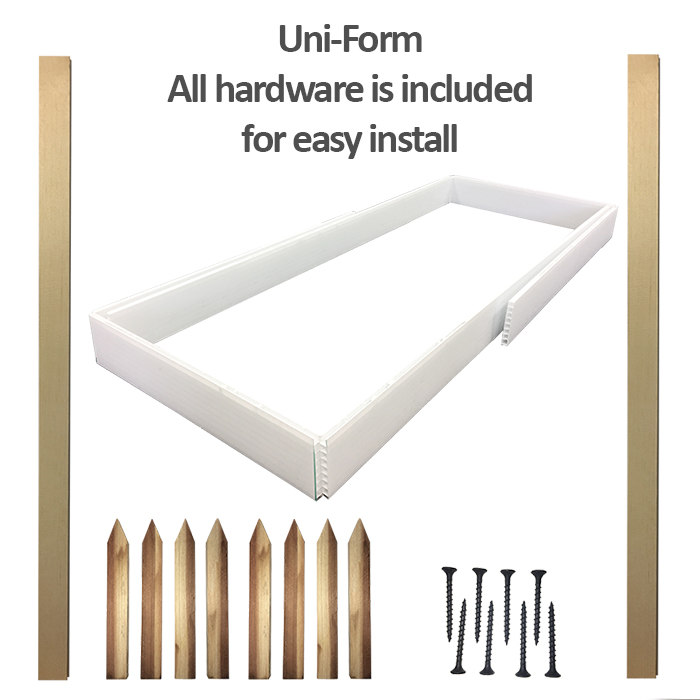
Includes all Hardware Necessary
All Uni-Form Kits included all hardware for wet concrete install
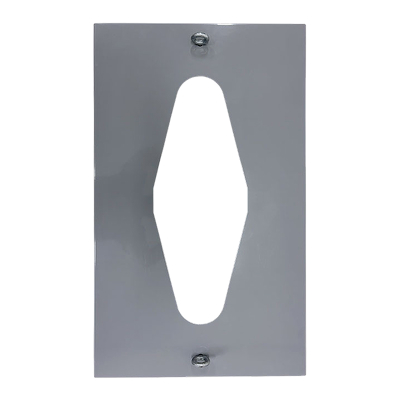
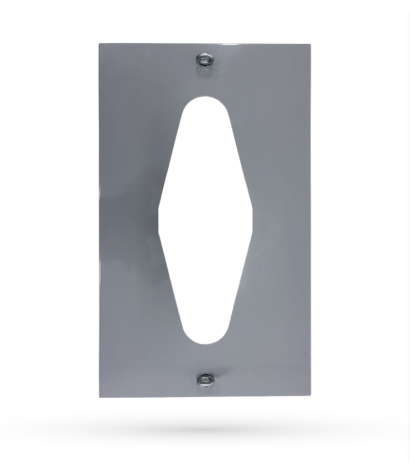
Hardware Kit includes:
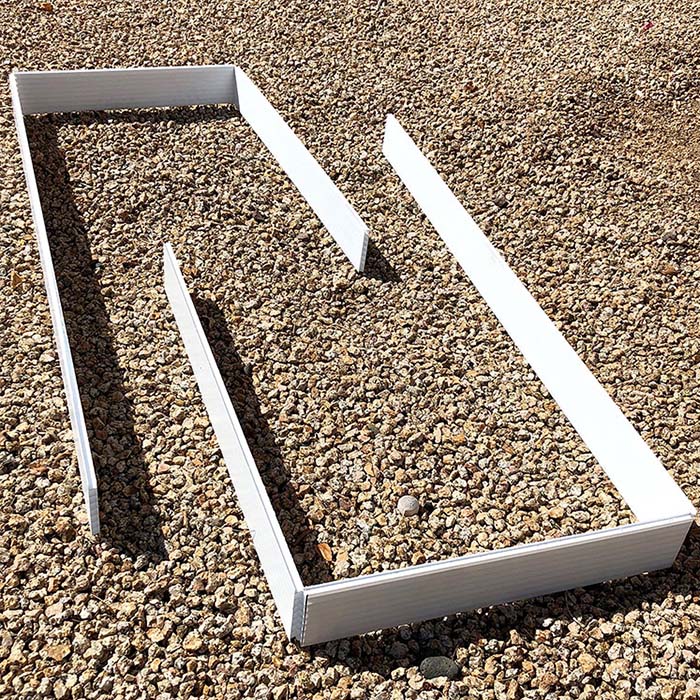
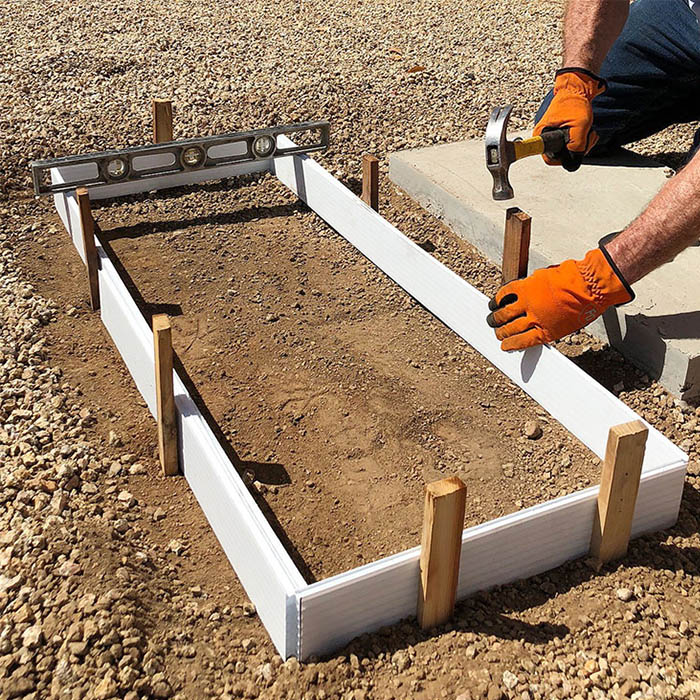
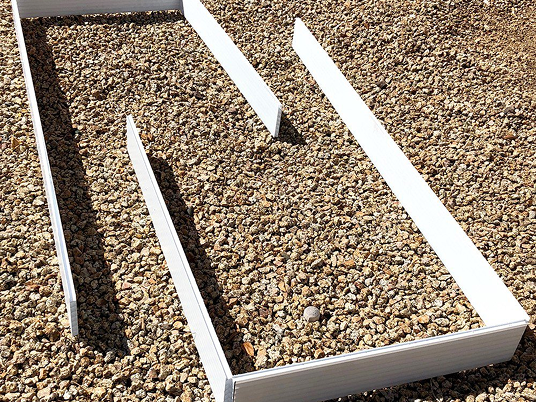
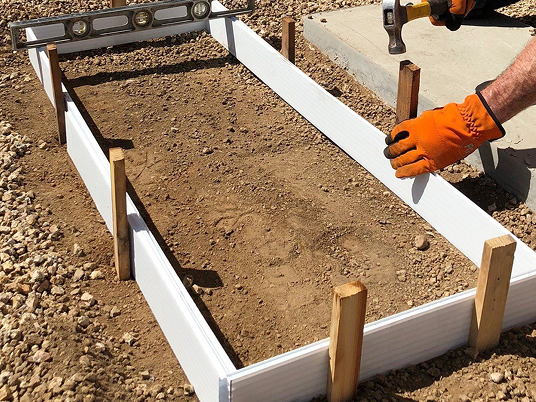
Determine the size pad required based on the model of Guardshack you are installing. Cut the Form sides along the pre-marked indications. For example, if you purchased a GS-2 or BP-2, find that line that reads “GS-2” and cut it to size.
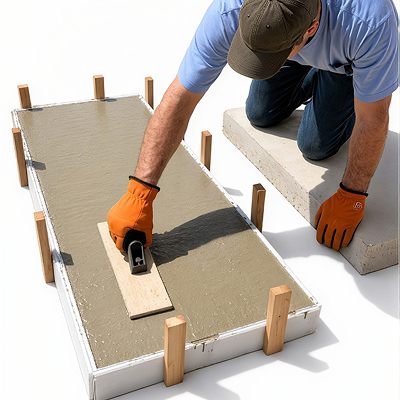
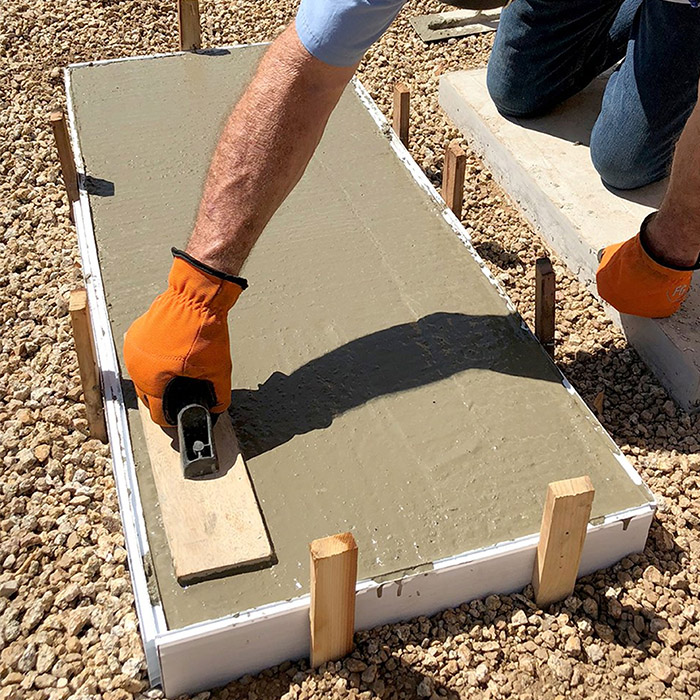
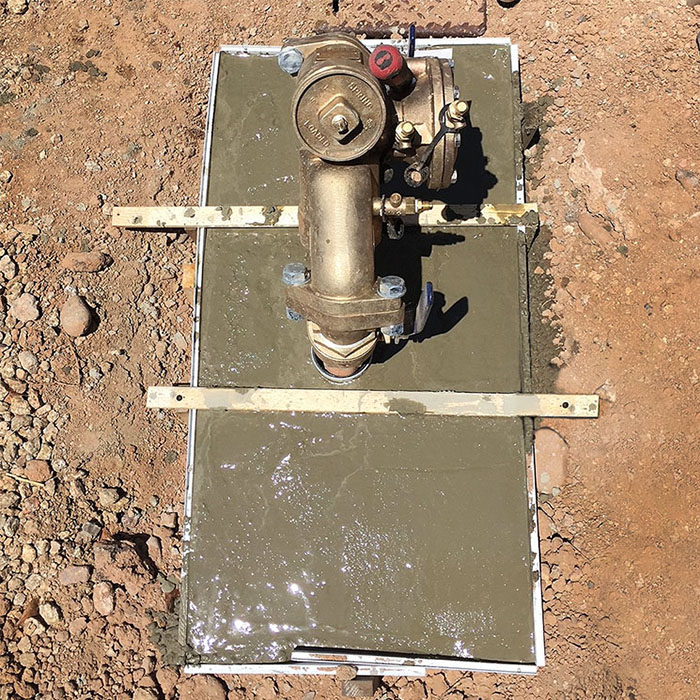
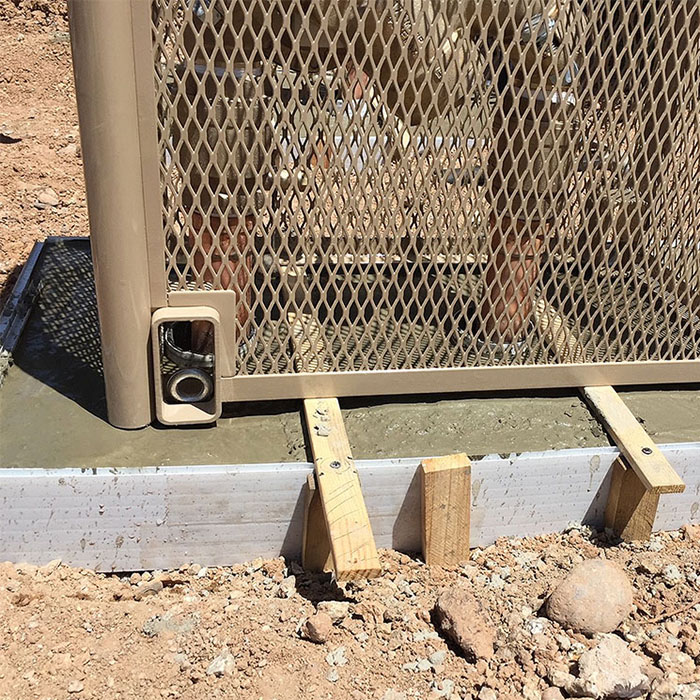
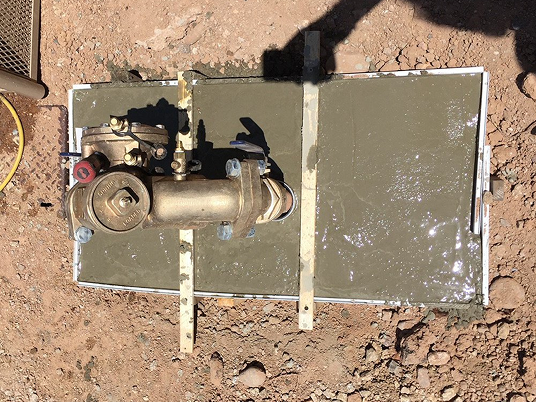
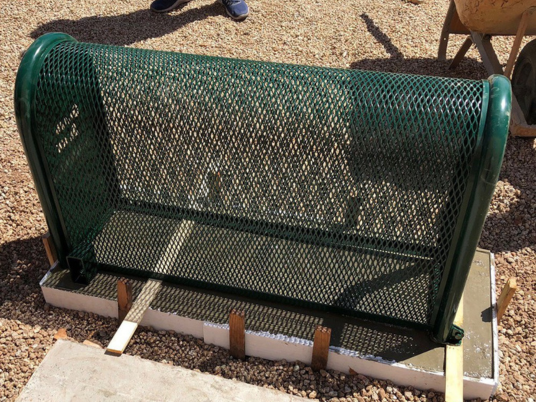
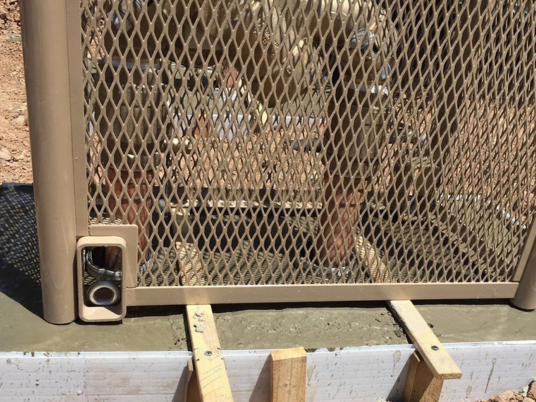
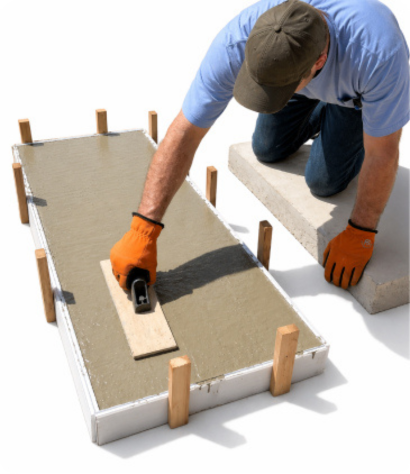
Mix and pour wet concrete into the now secured Uni-Form, smooth and Level concrete. Place provided wooden lath setters across forms, inside the pipe risers. This will allow the cage to rest just over the wet concrete so it doesn’t come in contact with it while drying.
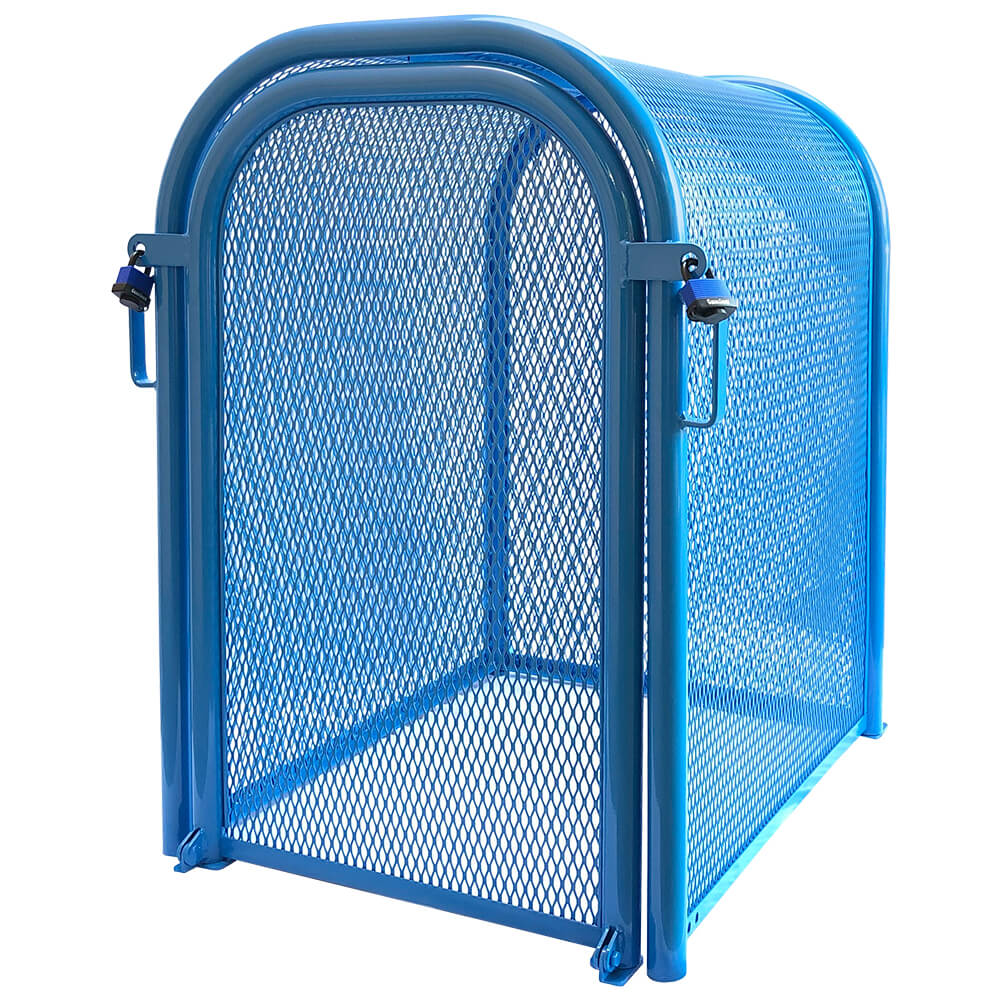
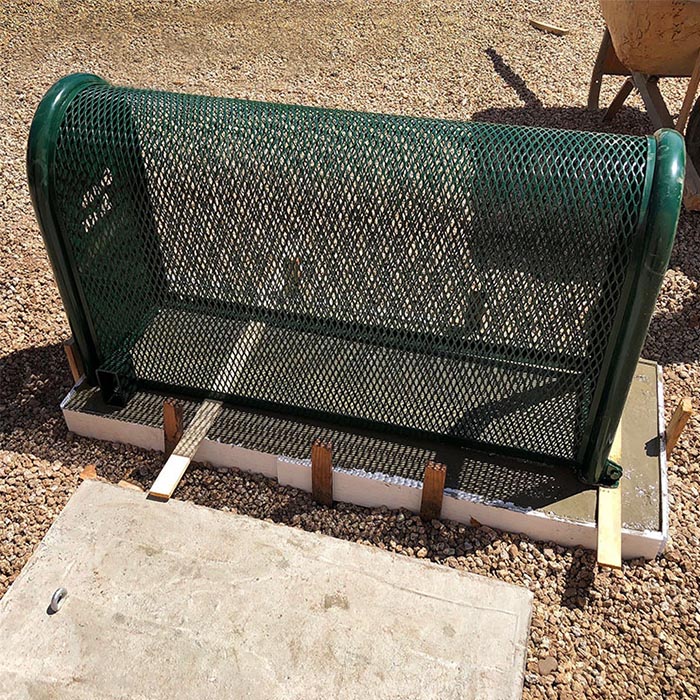
Place the GuardShack enclosure on top of the lath, and line it up for desired eyebolt placement in concrete. If using the wet install hardware kit that came with the cage, you can now mark and install the eyebolts and/or hinges into the wet concrete.
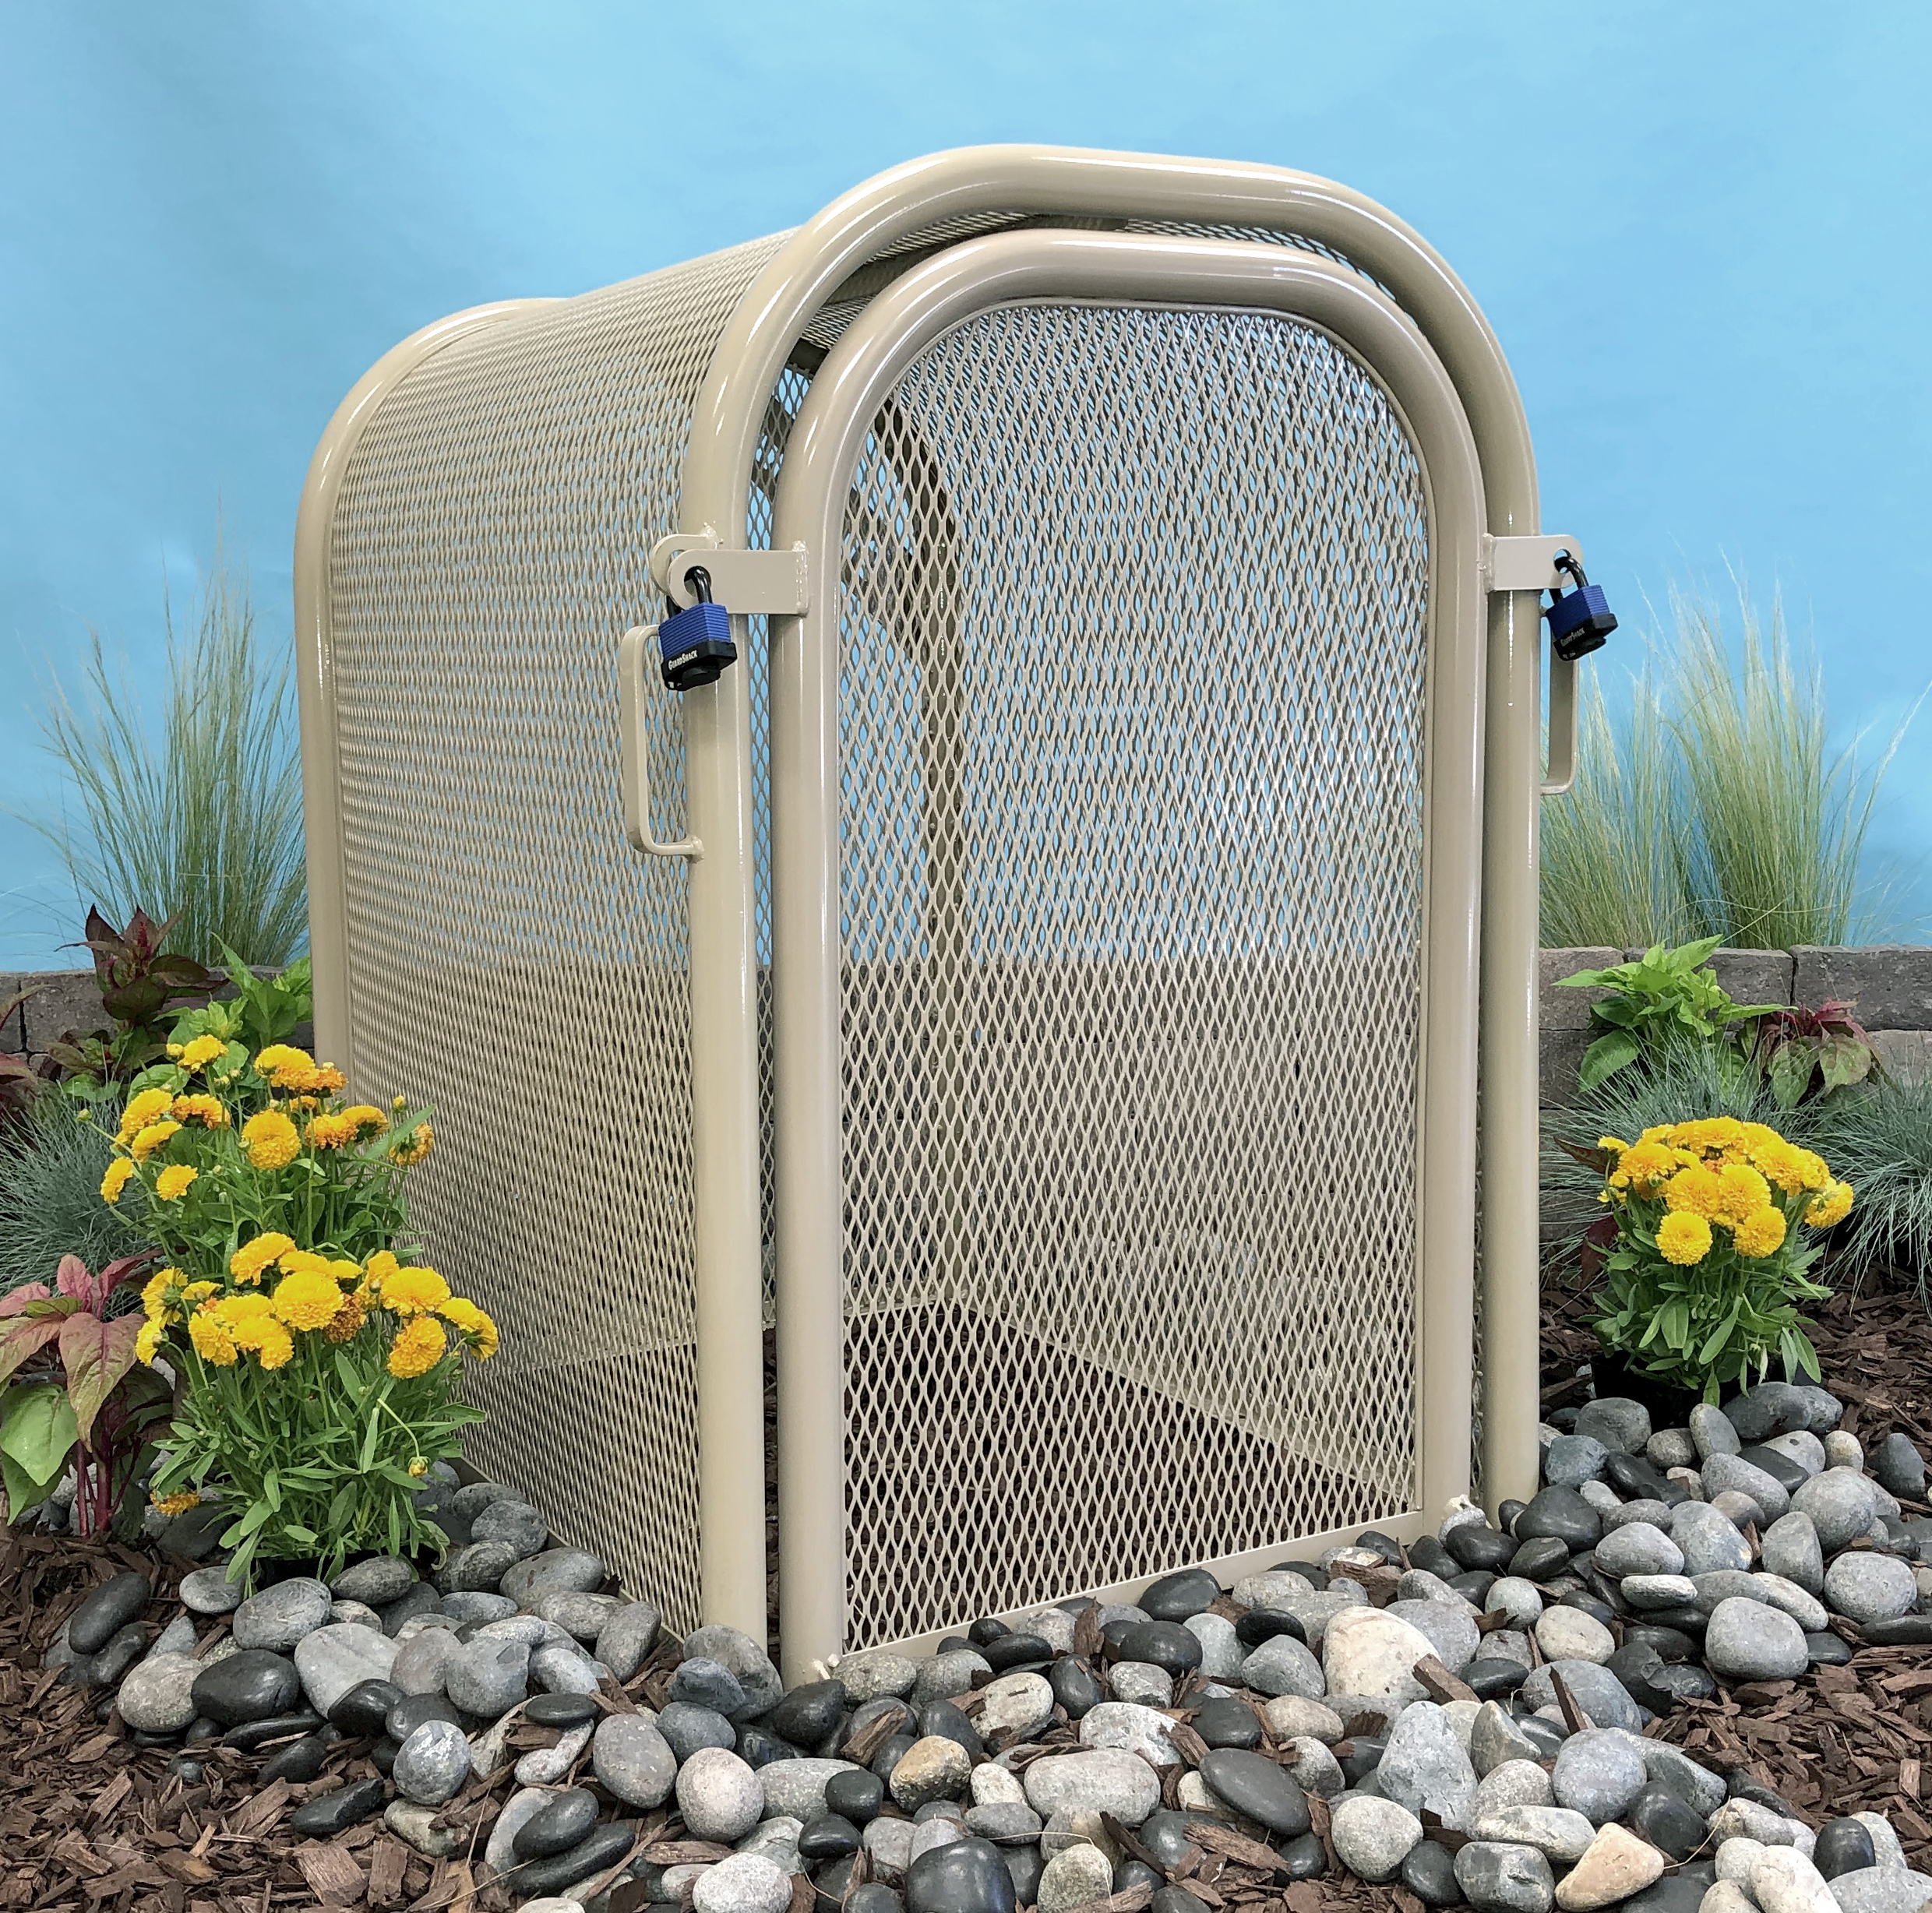
Install Padlocks (sold separately) and your install is complete. If you want you can return at a later time, when concrete is dry to remove the form and hardware so it can be reused in the future.
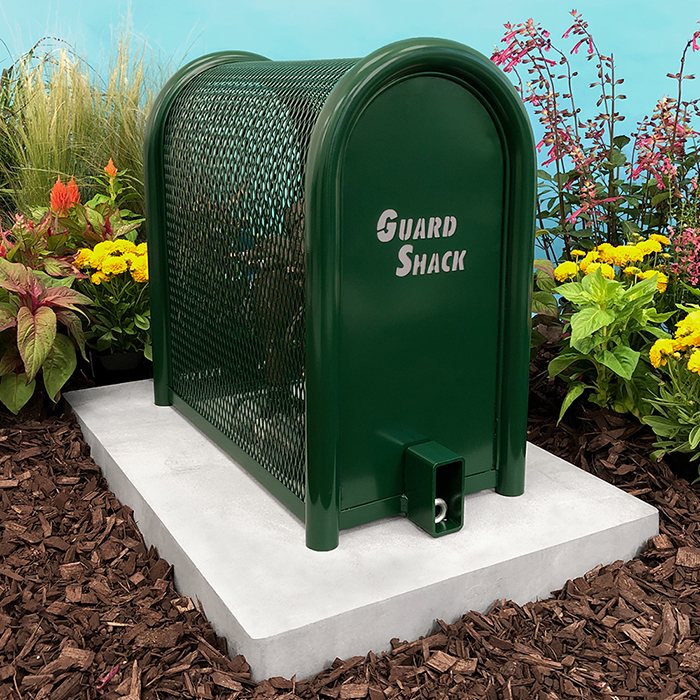
The EncPad™ Enclosure Base is the fastest and most efficient way to install our most popular Security Enclosure models.
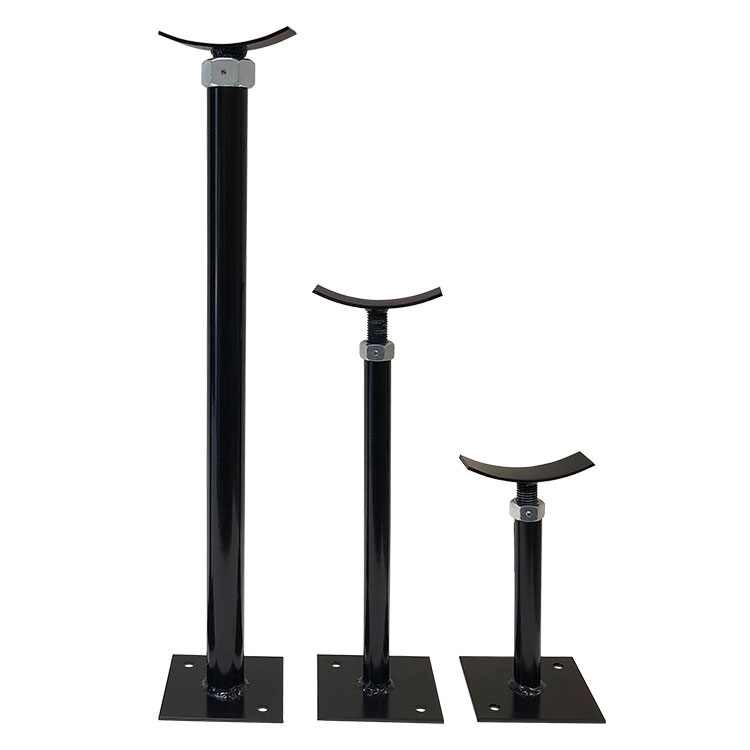
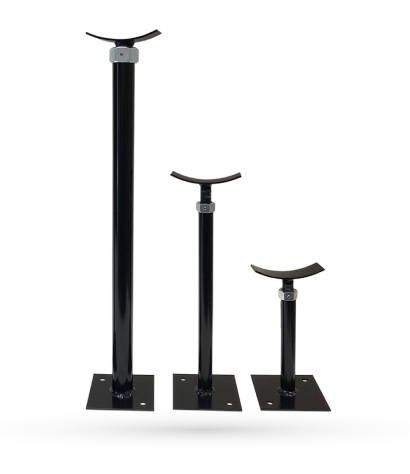
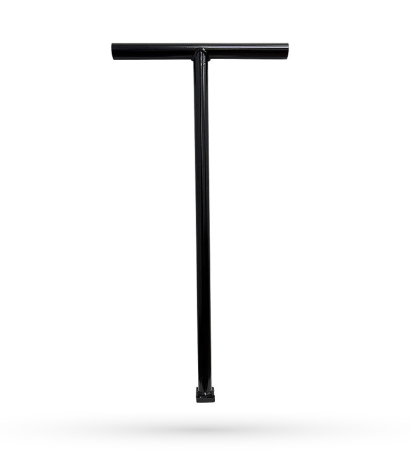
Help supports the weight of the gate valves and relieve pressure on the ductile iron 90’s.
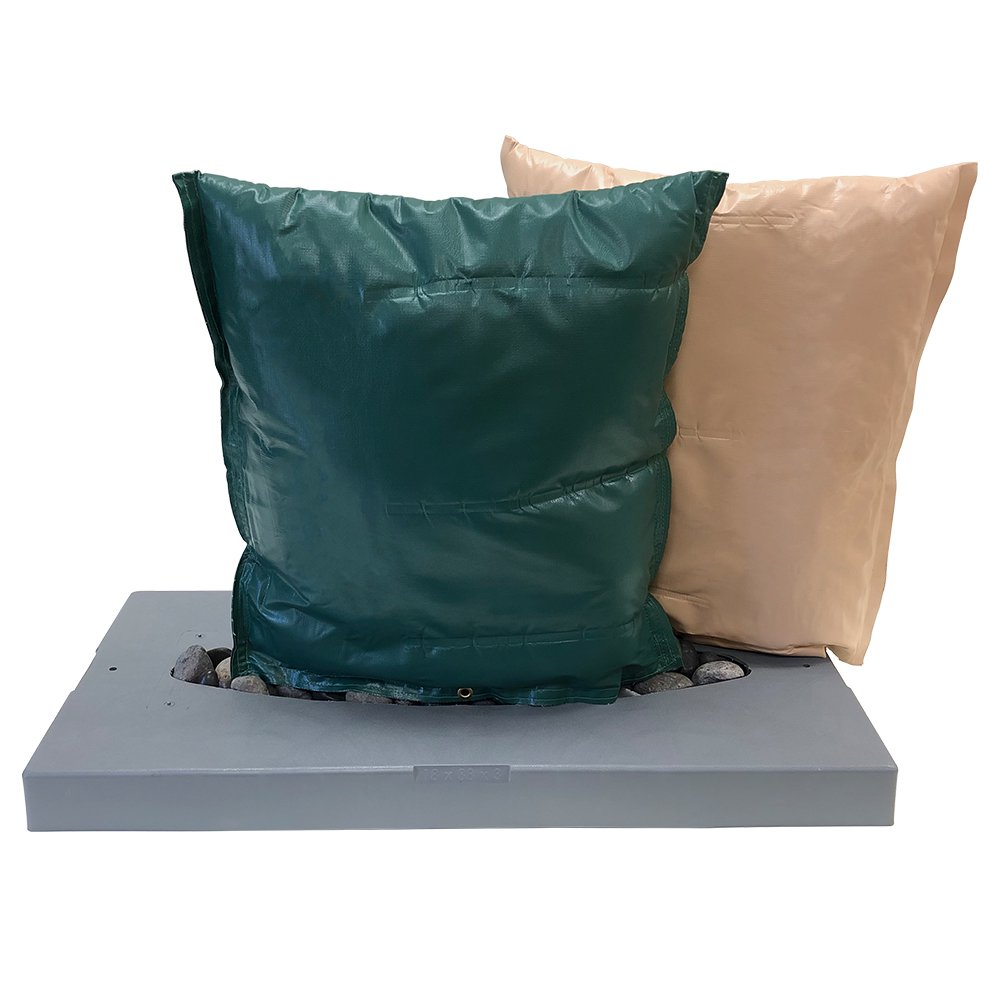
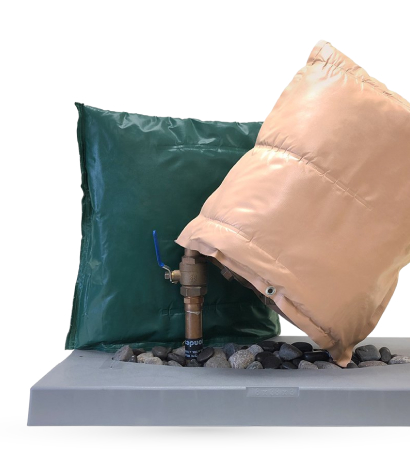
Sudden cold snaps that can occur in early winter or late spring with our FrostGuard™ Insulated blankets.
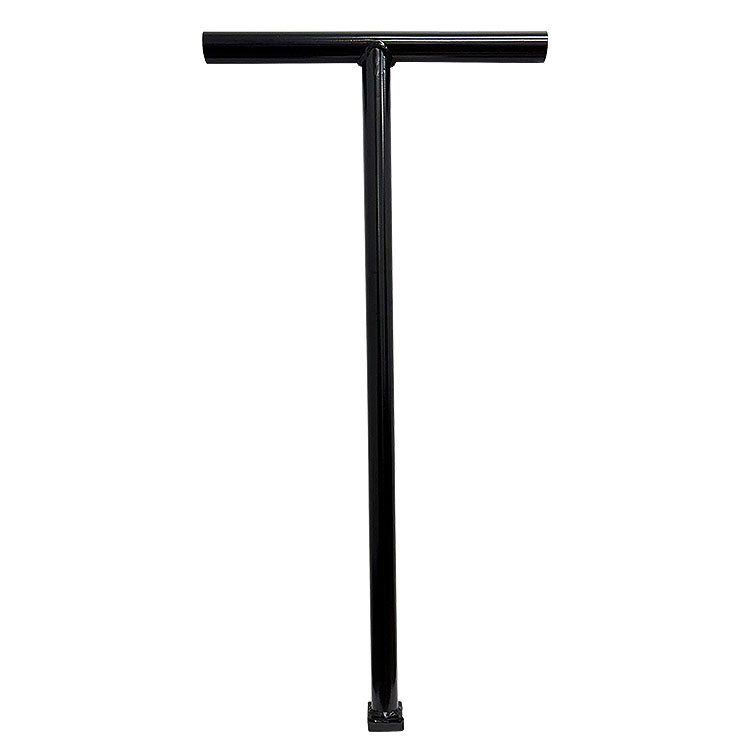
Save time with our easily adjustable, reusable setter and avoid an extra trip to the hardware store.
Shop GuardShack products through our network of trusted online retailers and authorized distributors.